This tutorial and demo shows you how to
make the most out of PowerPoint to create an effective
eLearning module. It is very easy to take any
traditional linear presentation and add branching (from
a menu in this case) as well as some simple show/hide
interactivities. Click
here to see a list of 15 benefits of using
PowerPoint for eLearning.
|
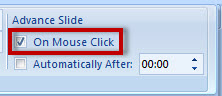
This is the Slide
Animations setting you normally see for a
PowerPoint presentation. The presenter
usually just clicks somewhere on the slide to
advance to the next slide. To begin to
create a non-linear presentation where you will
add buttons and/or hyperlinks to create the
navigation, you would uncheck the On Mouse
Click checkbox. |
|
 |
|
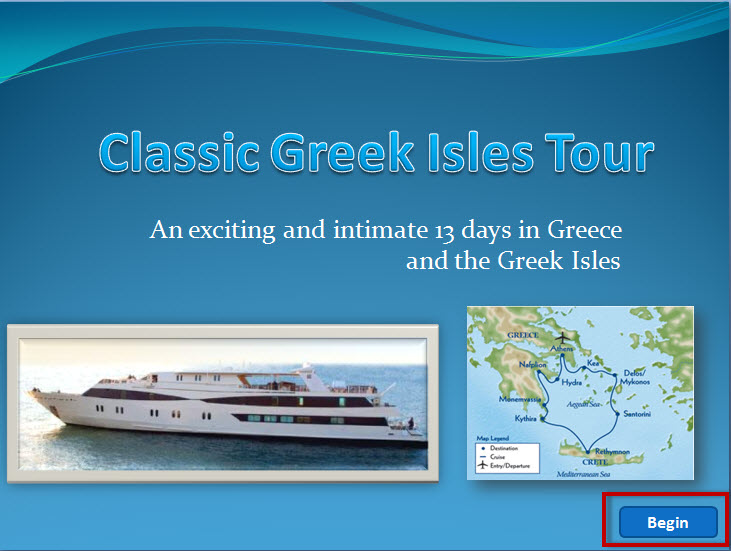
Here you see a
Title slide with this setting unchecked. All
the other slides also have this setting
unchecked.
Notice that a
Begin button has been added to the slide.
This is just a Rounded Rectangle. Below
you see the Hyperlink setting for this button.
 |
|
 |
|
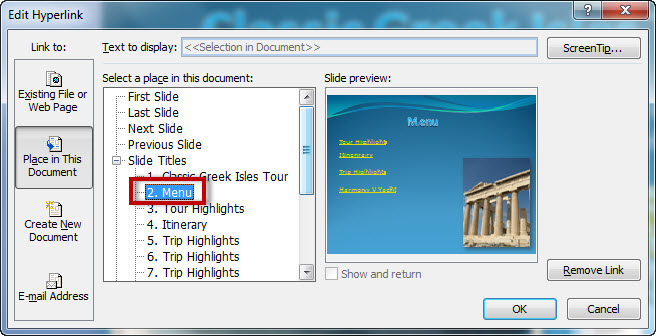
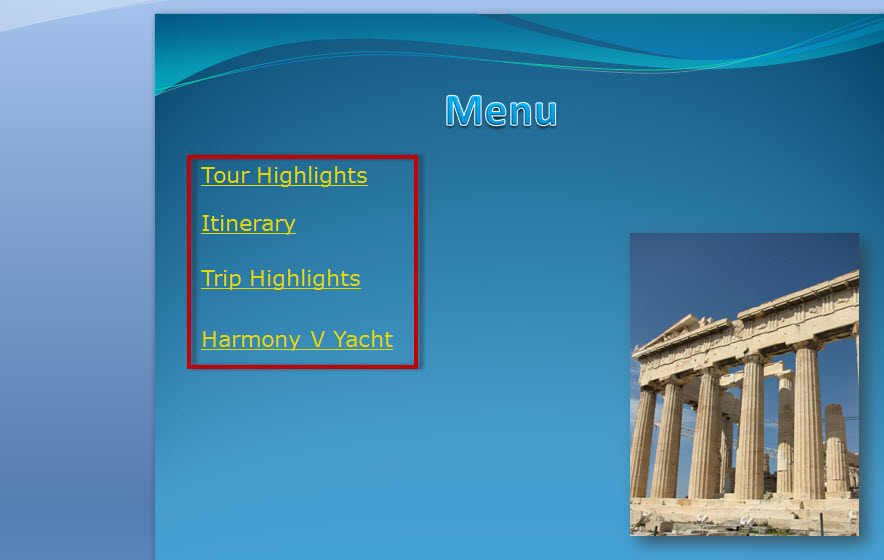
This is a Menu slide where
you can see that there are hyperlinks to various
parts of the presentation. Each of these have
been set up like the Begin button on the
Title slide. |
|
 |
|
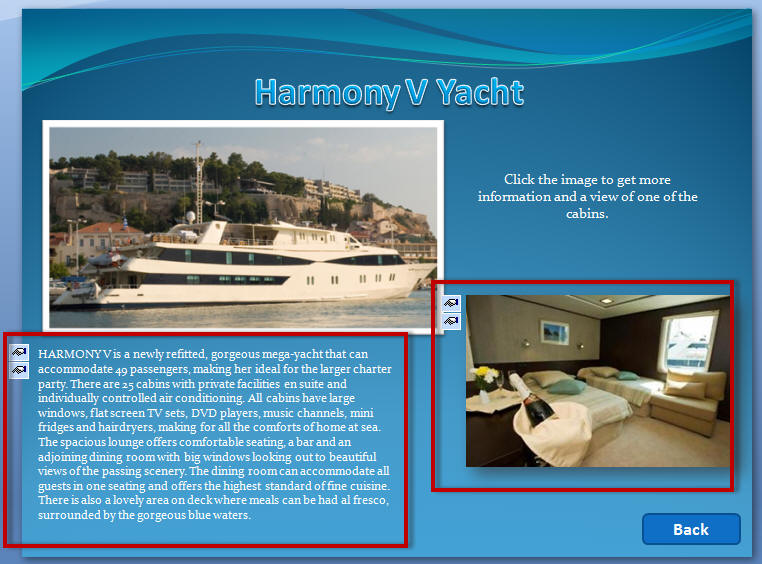
This slide
illustrates how you can set up a simple
show/hide interactivity by using Object
Animations. By applying an Entrance
Animation (Faded Zoom) to the image of
the cabin (Picture 3) and the text (Text
Placeholder 8) about the
yacht, those two objects are initially hidden.
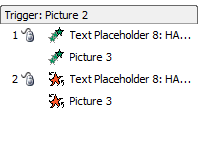
The learner is
provided instructions to click the picture of
the yacht (Picture 2). |
|
 |
|
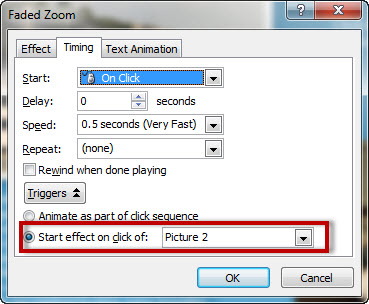
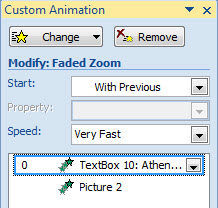
This is the Timing
tab of one of the Entrance animations (Faded
Zoom) showing how you assign the first click of
the picture of the yacht as the trigger to
"show" the object. |
|
 |
|
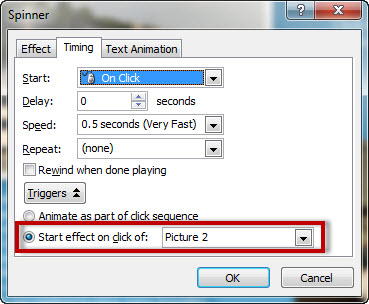
This is the Timing tab of
one of the Exit animations (Spinner) showing how
you assign the second click of the picture of
the yacht as the trigger to "hide" the object.
|
|
 |
|
You can use the
above method to have several show/hide
interactivities on a single slide but you may
find that the slide will get very crowded.
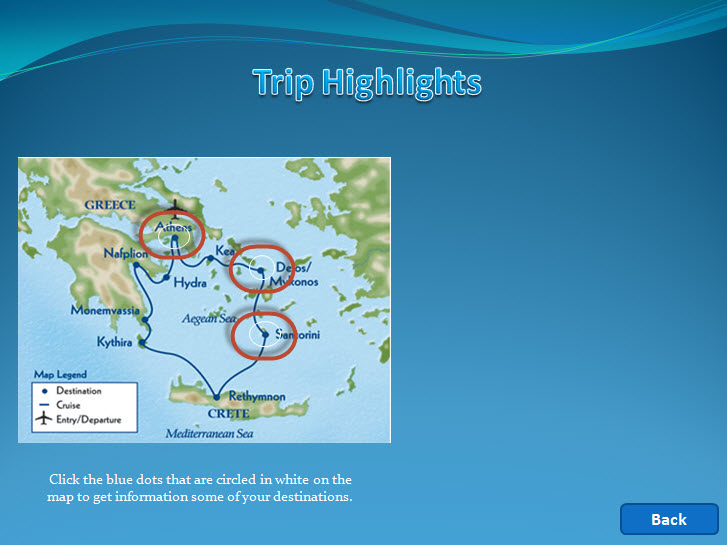
Here you see
another slide with three "hotspots", the
red
ovals.
Each of the white
ovals have a hyperlink assigned that links to
another slide that is a duplicate of this slide
with slight changes (such as the instructional
text) with the duplicate slide containing the
"popup" information.
|
|
 |
|
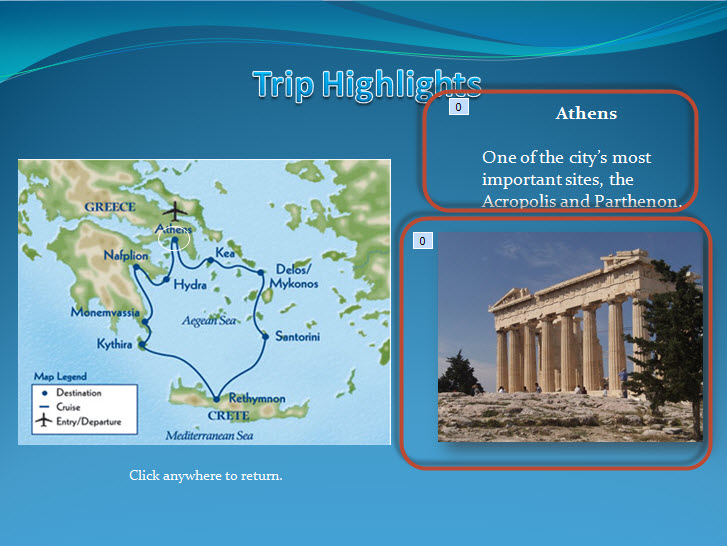
This is the duplicate slide to
accompany the hotspot for Athens. The intent
here is to show text and an image of one of the
most important sites in Athens, Greece. Each of
the two objects has an Entrance Faded Zoom
Animation set up to be triggered when the slide
is viewed, thus simulating a "popup" effect. The
slide is set up to advance on click.
 |
|
 |
|
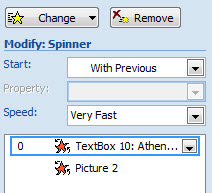
In order to have an Exit
Animation, another duplicate of the slide is
created, with this one being set up to
automatically advance after 0:00 seconds. Shown
to the right are the Exit Animations (Spinner).
With this copy of the slide, the instructions do
not appear since the slide is set up to
automatically advance. |
|
 |
|
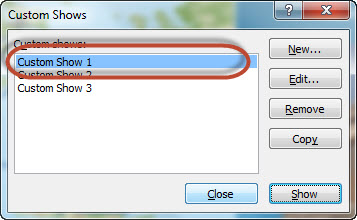
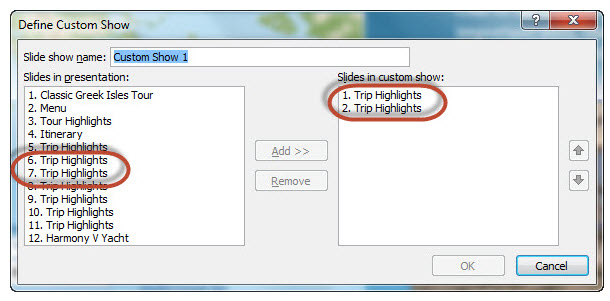
Now, to make this
work, a Custom Slide Show has been set
up. This is a very powerful, yet often
overlooked feature in PowerPoint.
|
|
 |
|
|
|
|
Below you see that a slide show named
Custom Show 1 has been defined to allow slides 6 and
7 to be shown which are the two duplicate slides to
accompany
the Athens hotspot.
Finally, this is the Hyperlink for the
oval (hotspot) that is over the Athens part of the map.
Notice that the link is not to a slide, but to the
Custom Show 1 that has been defined. By doing this
in this manner, the slide that is first shown when the
hotspot is clicked will always be reset and the
animation will fire each time. Since the first duplicate
is set up to advance on click and the second duplicate
is set up to automatically advance after zero seconds,
the over all effect is that once the hotspot is clicked,
the learner goes to the first duplicate slide, the
additional information is displayed as the Entrance
Animations fire, and then upon clicking that slide, the
Exit Animations fire and the learner is returned to the
slide which has all of the hotspots. Note that Show
and return is checked to accomplish this.

Click
here to view
and/or download a finished sample of the above.
This site is best viewed at a Resolution of
1024x768 or higher.